DIY Storage That Stands

For this project you'll need:
Pallet
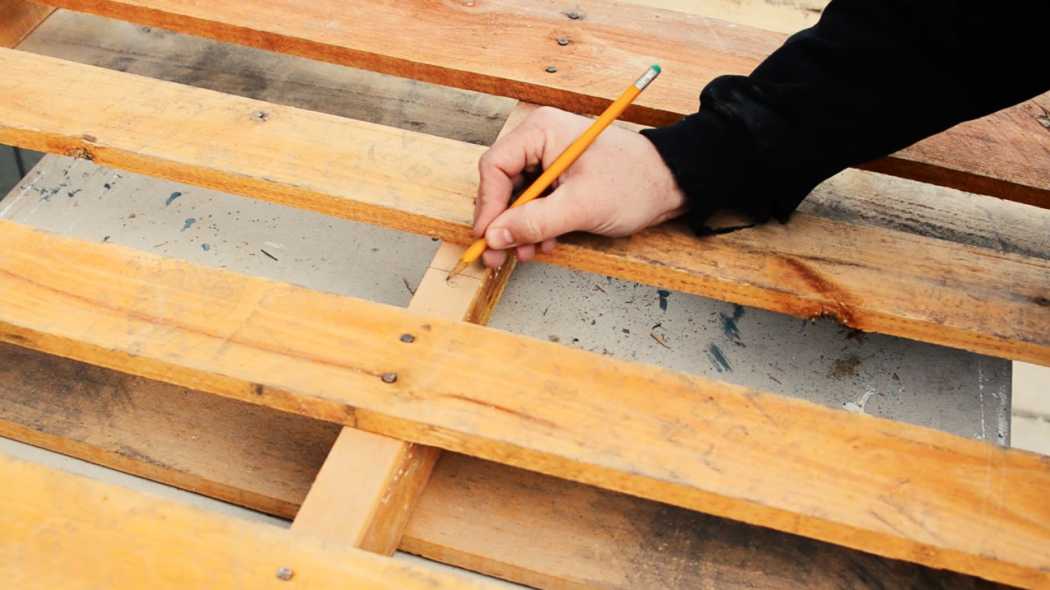
Tape Measure
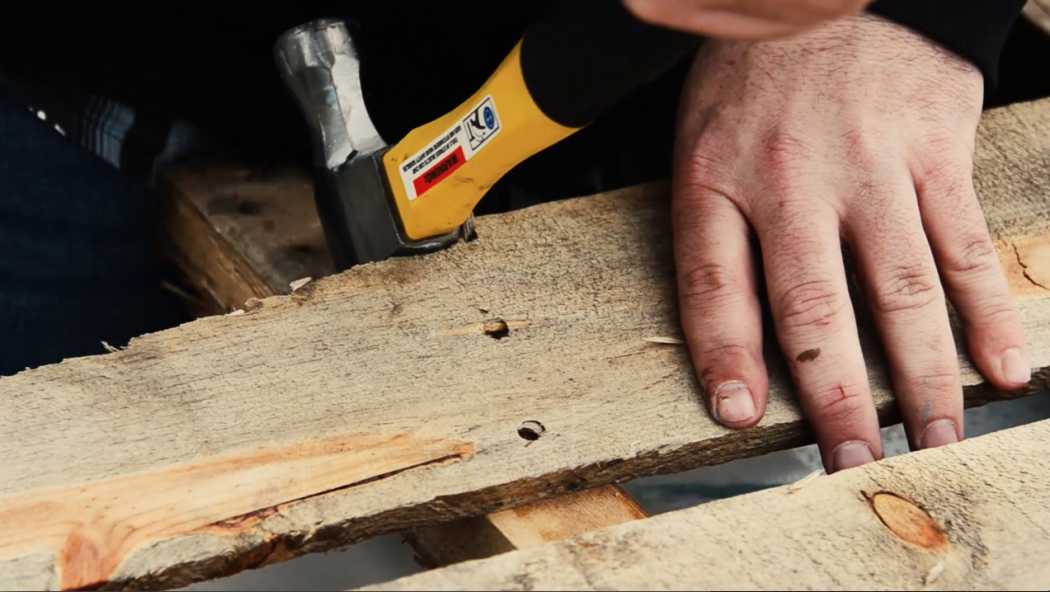
Reciprocating Saw
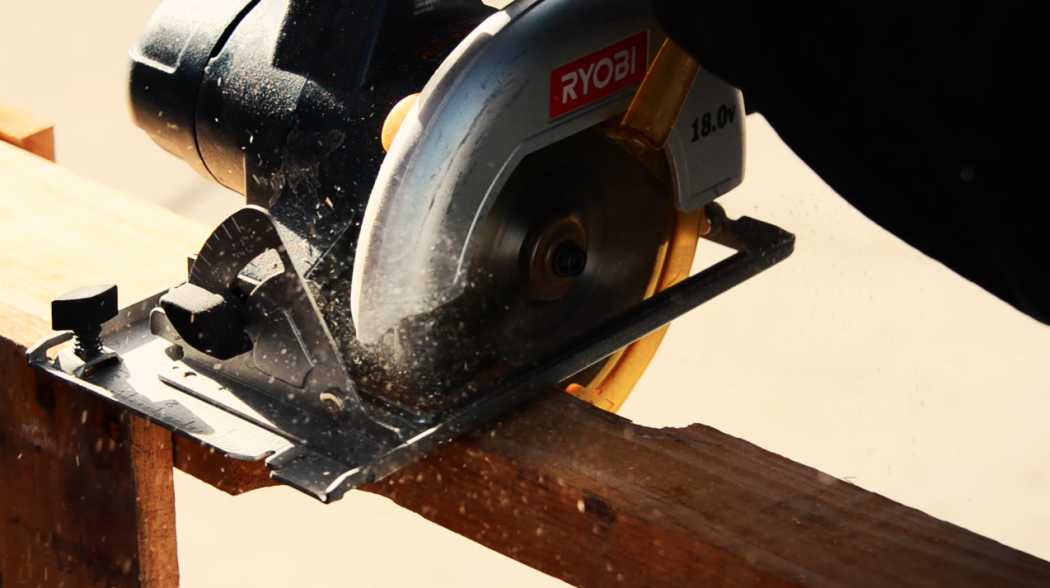
Circular Saw
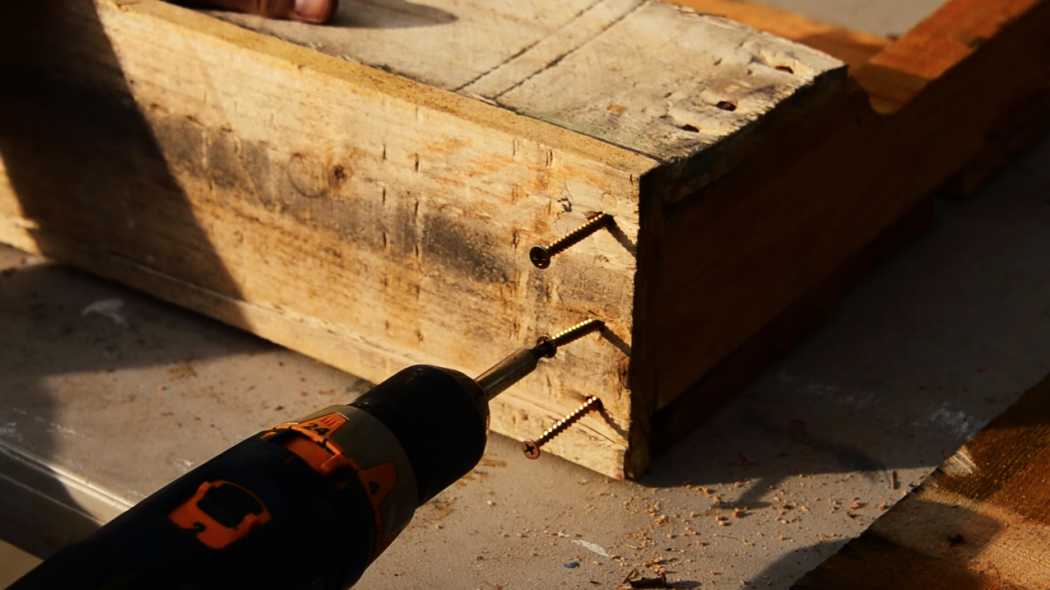
Drill and Screws
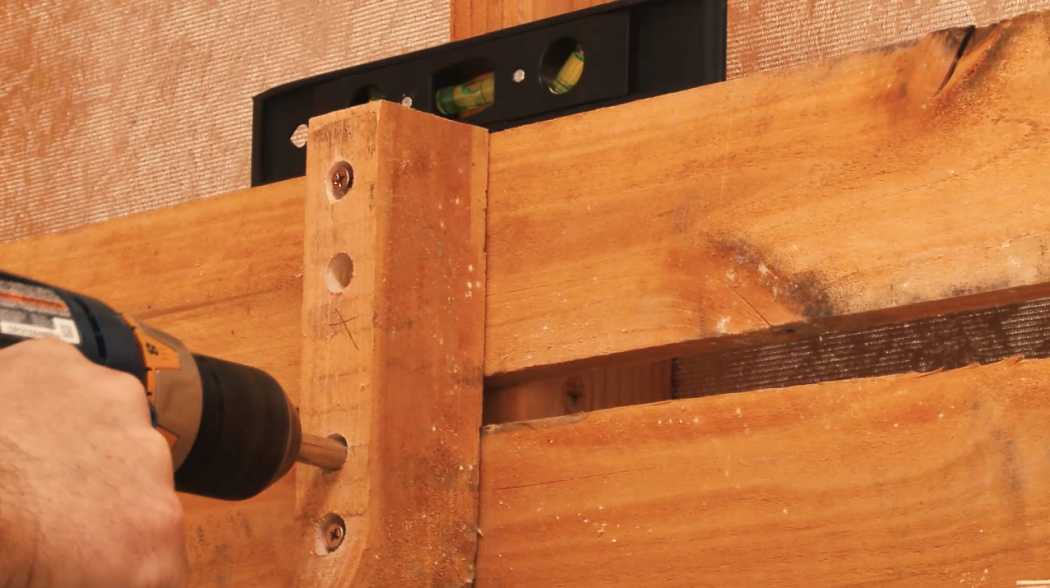
Level
Paint or Stain (0ptional)
To start, we'd like to clarify the parts of a pallet. A pallet consists of two major components, the stringers or supports and deckboards. Generally a pallet has three stringers, made from 2x4 lumber, which supply the interior support for the structure. The deckboards are typically thinner, 1x3 or 1x4 boards that are placed on either side of the stringers.
DIY Pallet Shelf for Garage or Shed Storage
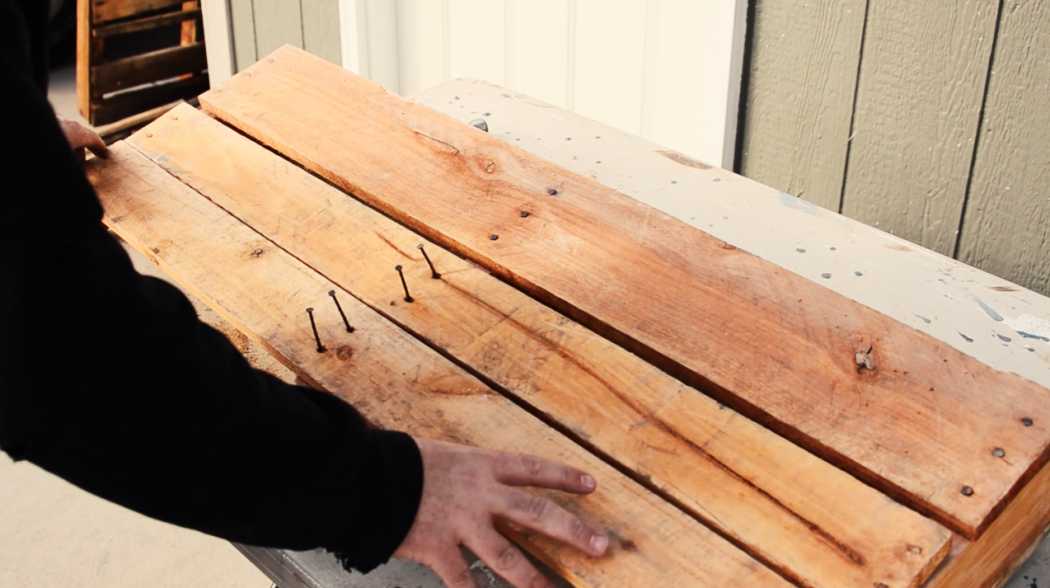
First, select a pallet with heavy boards that will withstand the use of a shelf. It should be fairly sturdy and at least one end of the pallet should have boards that are in good shape with no cracks. The sturdier your wood is, the sturdier your shelf will be.
Next, measure from the end deckboard of your pallet and determine how tall you want your shelf to be. Keep in mind, the height will be most important for the back panel of the shelf. Our shelf is 13 in. high in the back for better support.
?imgeng=/w_3840/cmpr_50)
?imgeng=/w_3840/cmpr_50)
?imgeng=/w_3840/cmpr_50)