Space Saving DIY Workbench

If you decided not to add the shelves at the time of your purchase, or you simply want to spruce up your current garage or shed, this project is just right for you. This folding workbench takes up minimal space when folded down, but provides the perfect work area when assembled. With a little planning, this simple project will only take half an hour.
DIY Folding Workbench for Your Garage or Shed
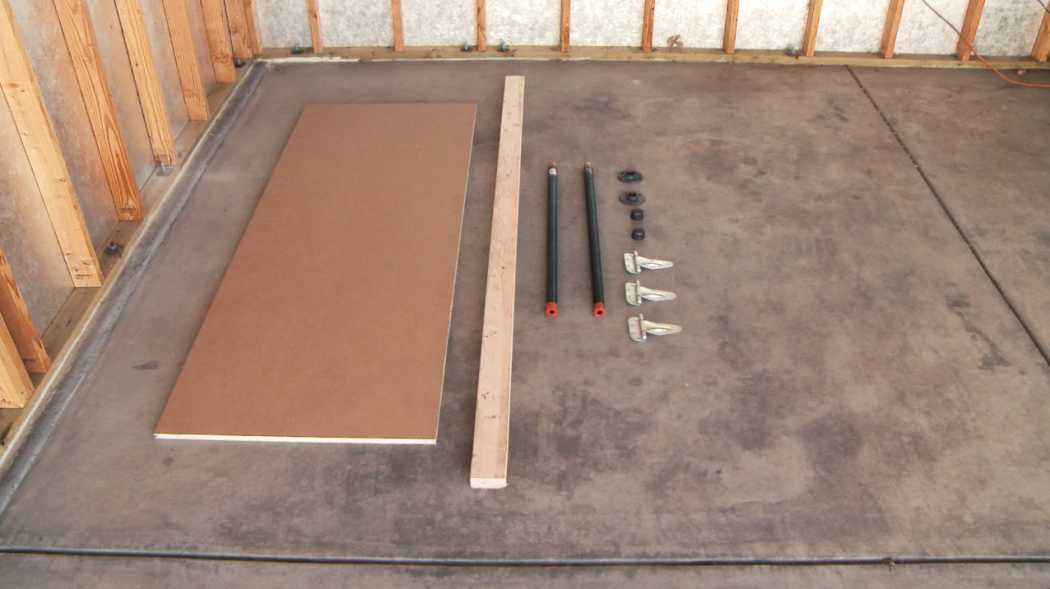
Here's what you'll need:
Board for Table Top
2x4 Stud
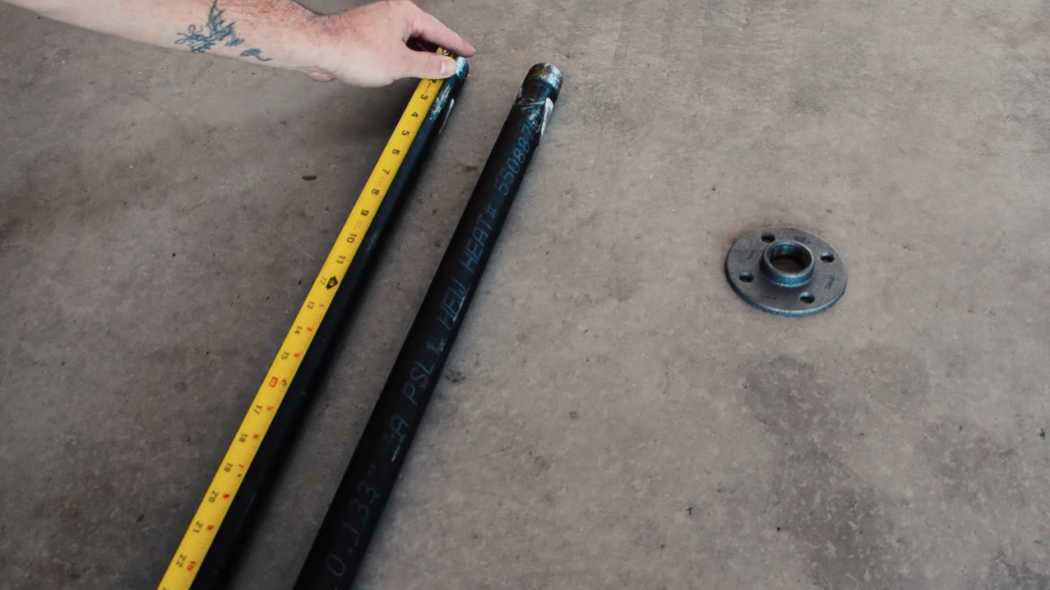
(2) 36" Galvanized Pipes
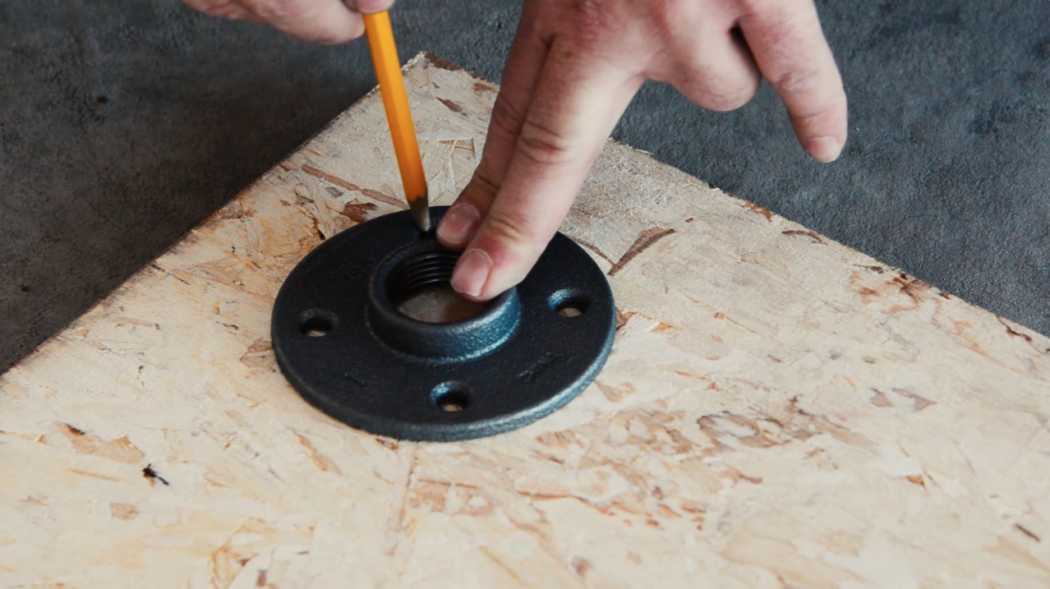
(2) Flanges
(2) Pipe Endcaps
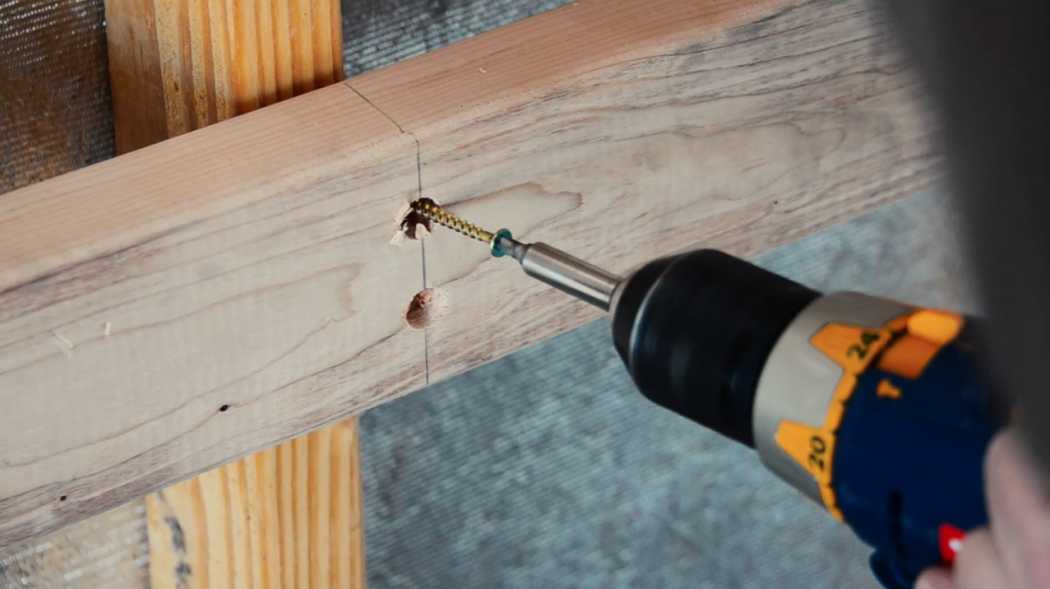
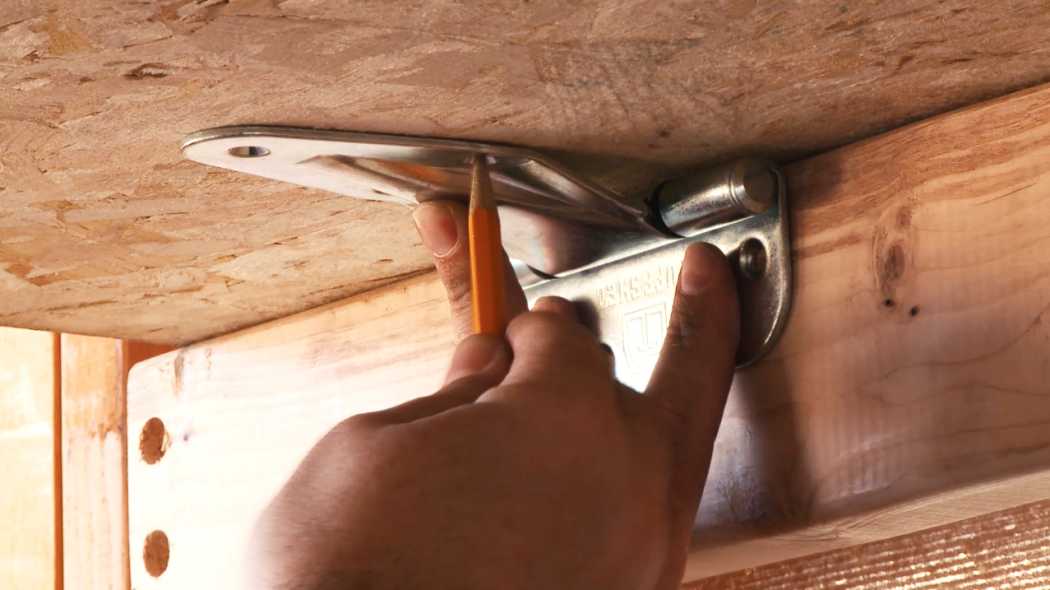
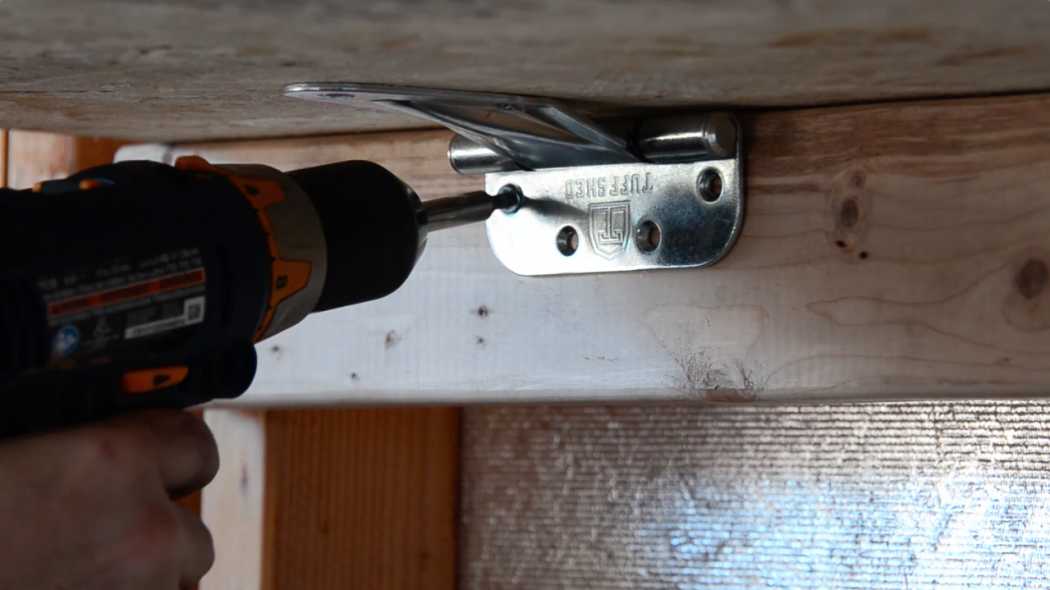
(3) Heavy Duty Hinges
#10 3/4 Wood Screws
Pencil
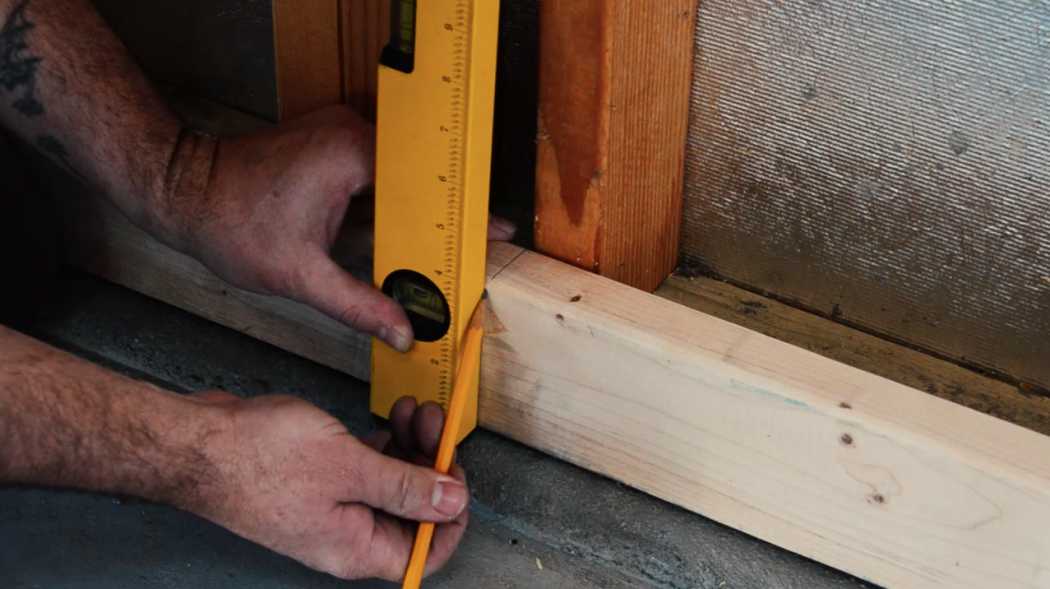
Level
Measuring Tape
Drill
Saw
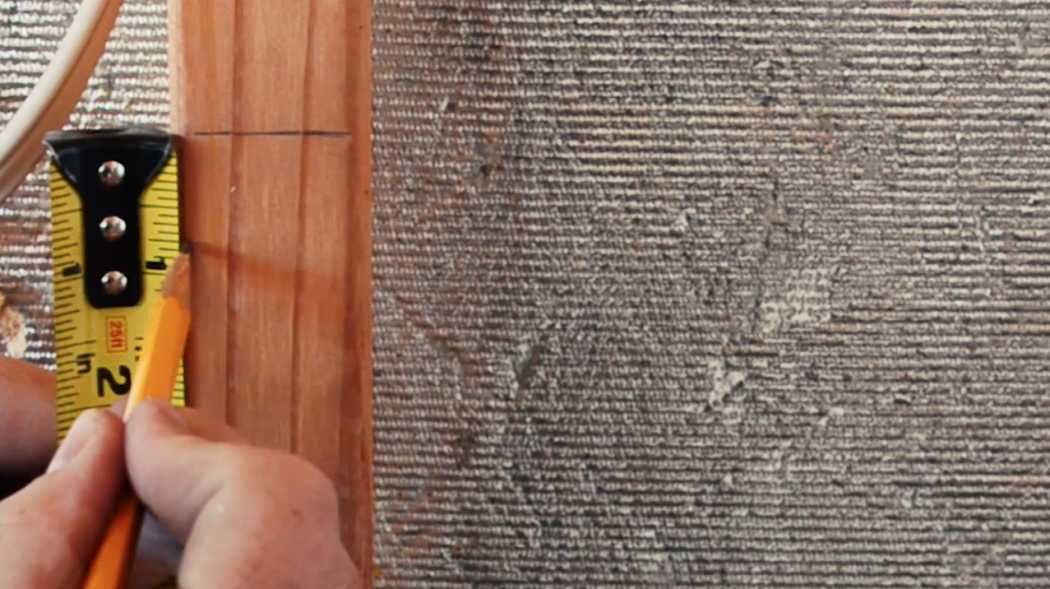
We found it was best to take inventory of all the components before beginning the project and laying them out in stages. Since there are so many components and exact measurements are necessary, we wanted to make sure we got it right. Our motto for this workbench project was “Measure twice, cut once.”
?imgeng=/w_3840/cmpr_50)
?imgeng=/w_3840/cmpr_50)
?imgeng=/w_3840/cmpr_50)